The information contained in this message may be privileged, confidential, and protected from disclosure.
If you are not the intended recipient, or an employee, or agent responsible for delivering this message to the intended
recipient, you are hereby notified that any dissemination, distribution, or copying of this communication is strictly prohibited.
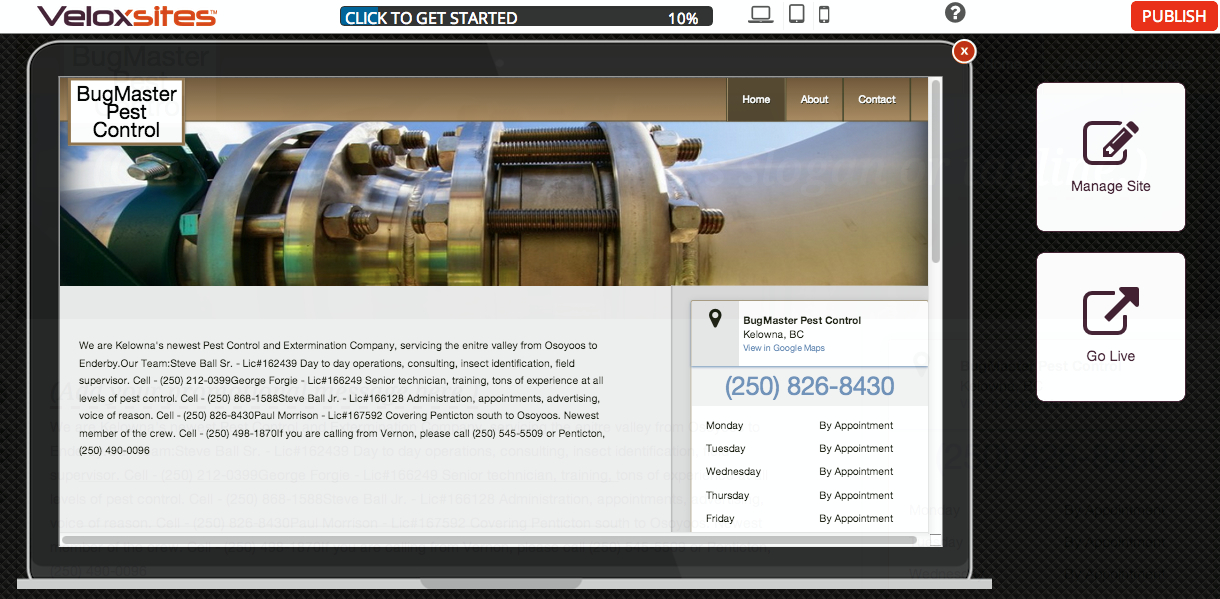
When entering your website for the first time, you will be greeted with the following welcome message. Choose to Manage Site or Go Live.
When you select "Manage Site" the website preview will close revealing the website to edit bordered by the control panel to the left and top menu.
This page allows you to change the design of your website, add pages and even setup a domain and email address.
First Time View
1.02 Second Time View
When entering your website for the second time, you will be greeted with the following welcome message with a quick launch for email, if an email has been registered.
Second Time View Welcome
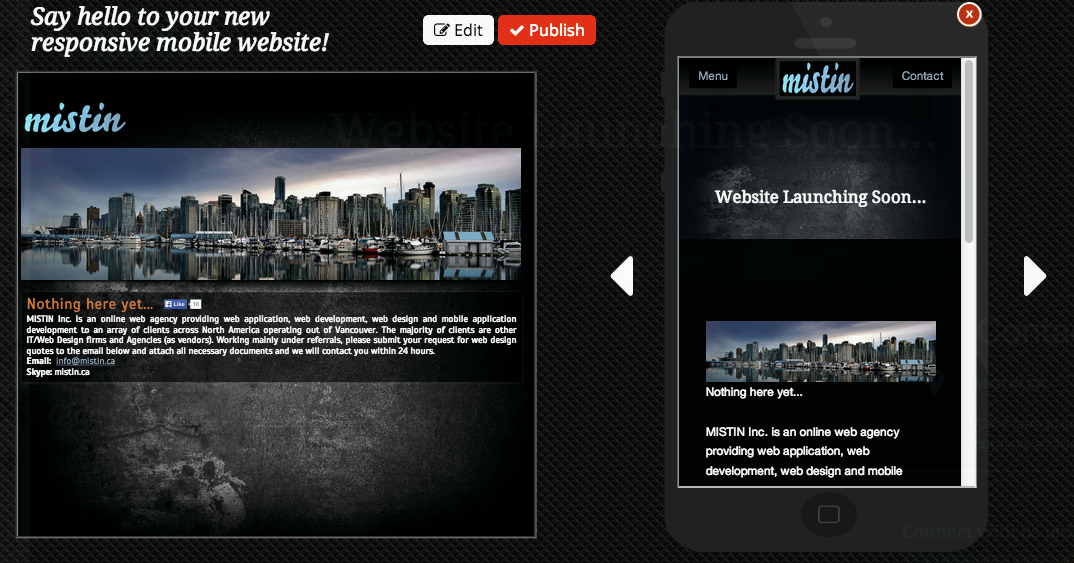
1.03 Mobile Conversion First Time View
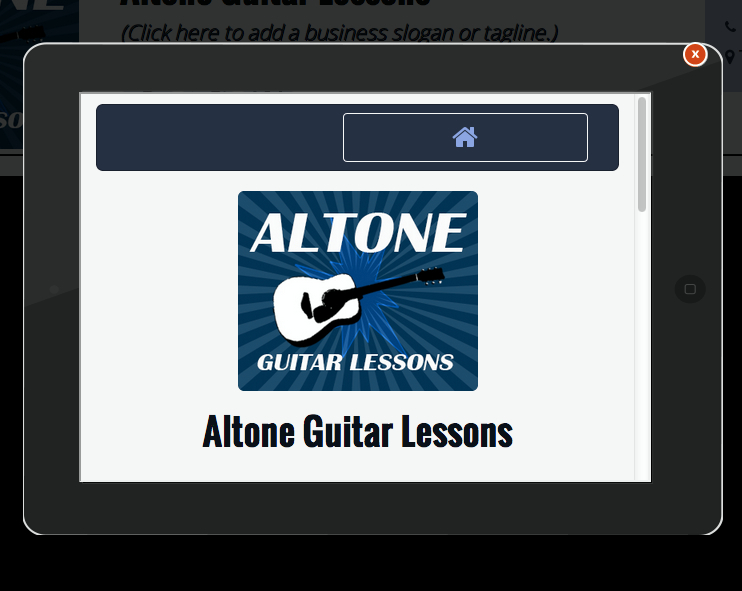
When entering your website for the first time, you will be greeted with the following welcome message. Choose to Edit or Publish.
When you select "Edit" the website preview will close revealing the website to edit bordered by the control panel to the left and top menu.
This page allows you to change the design of your website, add pages and even setup a domain and email address.
Mobile Conversion First Time View
2. Top Menu
Top Menu
2.01 Progress
Progress
A progress bar will always be present in the top menu. Clicking will slide out a submenu from the right. If your progress is incomplete you will see a list of next steps.
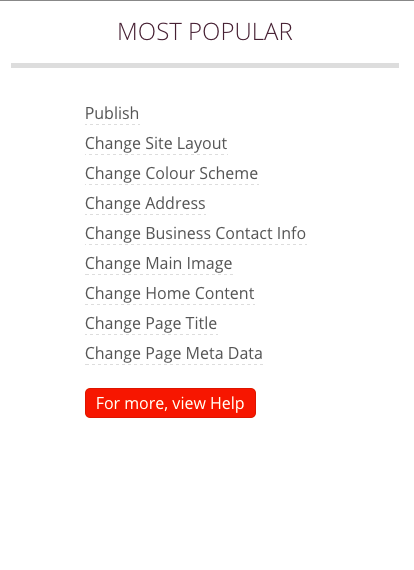
If your progress is complete you will see a list of the most popular editing actions.
Next Steps
Select options 1-10 in order for a fast and easy setup of your website! The completeness of your website is displayed in the progress bar at the top.
Most Popular
Most Popular List
2.02 Preview
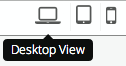
You have the option of previewing your completed website before you GO LIVE! Click on the corresponding device icon to view your website as it would appear on a computer, tablet, or mobile device.
Desktop
Desktop Preview ButtonDesktop Preview
Tablet
Tablet Preview ButtonTablet Preview
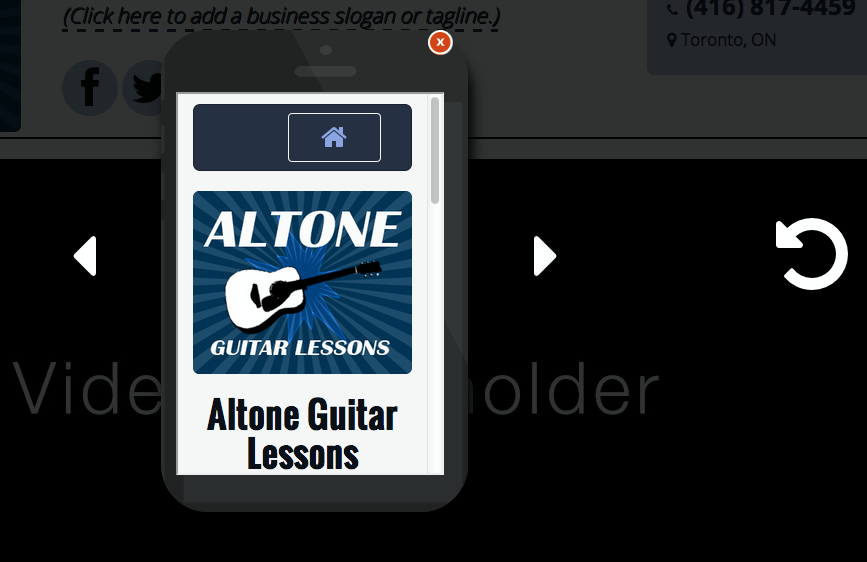
Mobile
Mobile Preview ButtonMobile Preview
2.03 Help
If at any point you are unsure where or how to do something, simply open the help panel.
You can search with keywords for an answer. When you see the question you need, clicking will load the answer below.
Every answer has a description, an action now option and a looping gif visually explaining the associated steps.
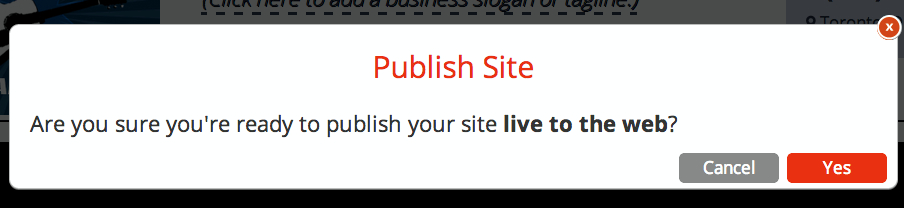
2.04 Publish
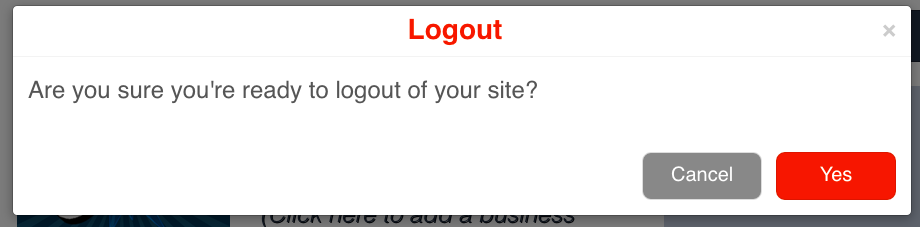
When are you done managing your website, click publish to GO LIVE.
Publish ButtonPublish Confirmation Popup
3. Control Panel
Control Panel
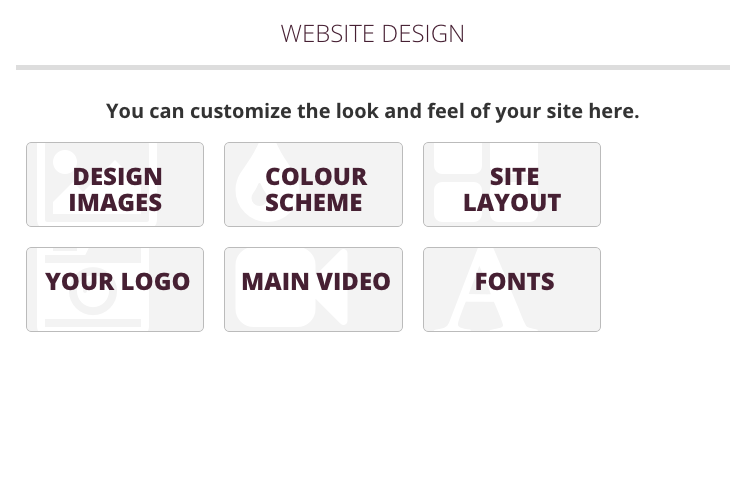
3.01 Website Design
Here you can change your website's imagery, colours, layout, fonts and logo.
Website DesignWebsite Design Submenu
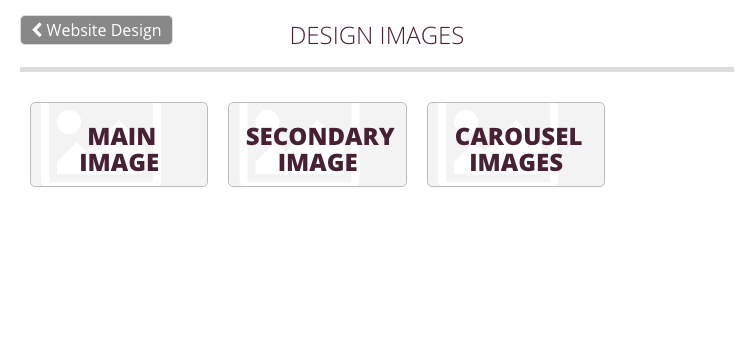
Images
Design Images Submenu
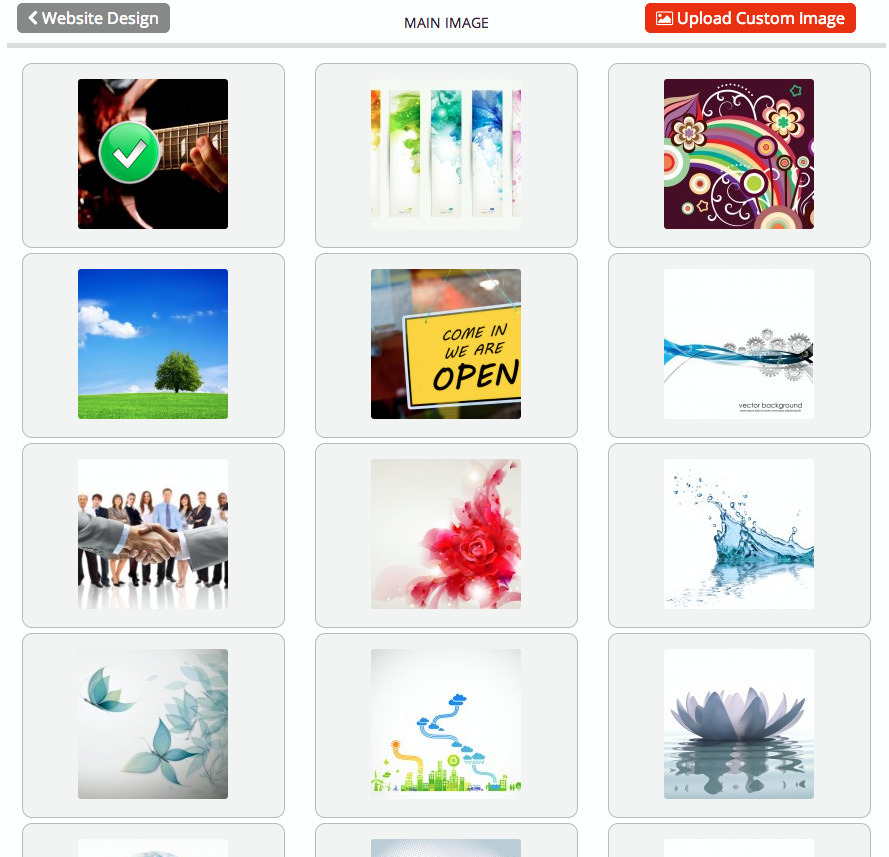
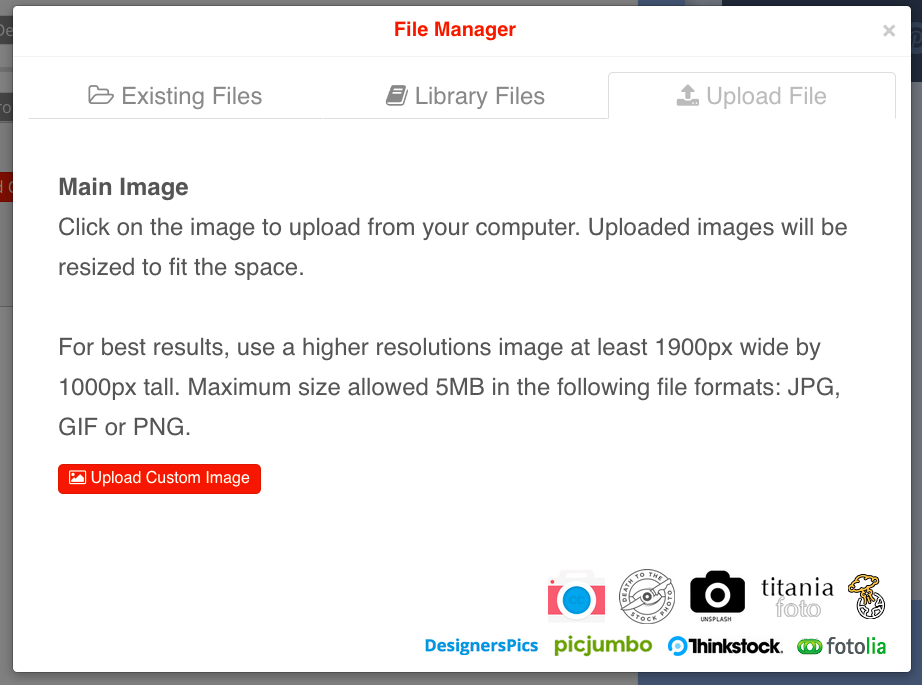
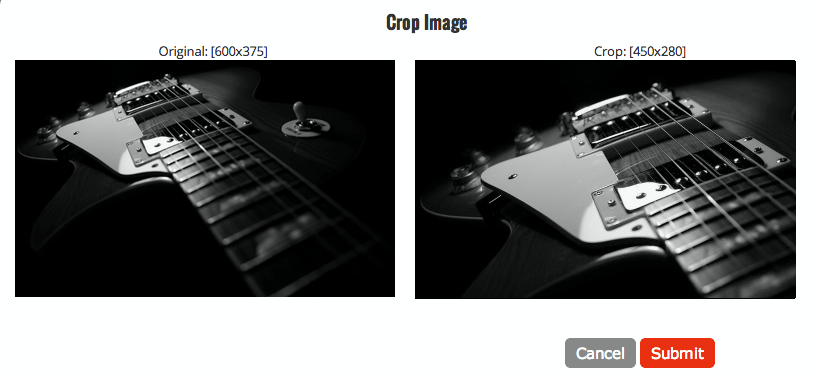
Main Image
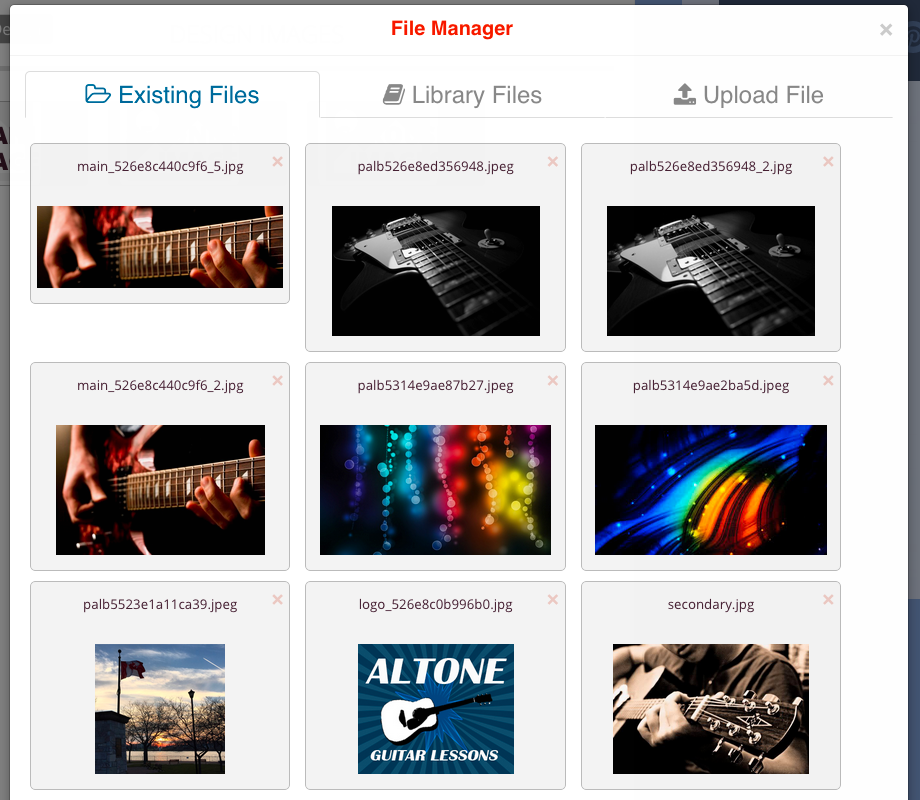
Select an image from the list or upload your own by clicking on Upload Custom Image.
Main Image SelectionFile Manager UploadImage Cropping
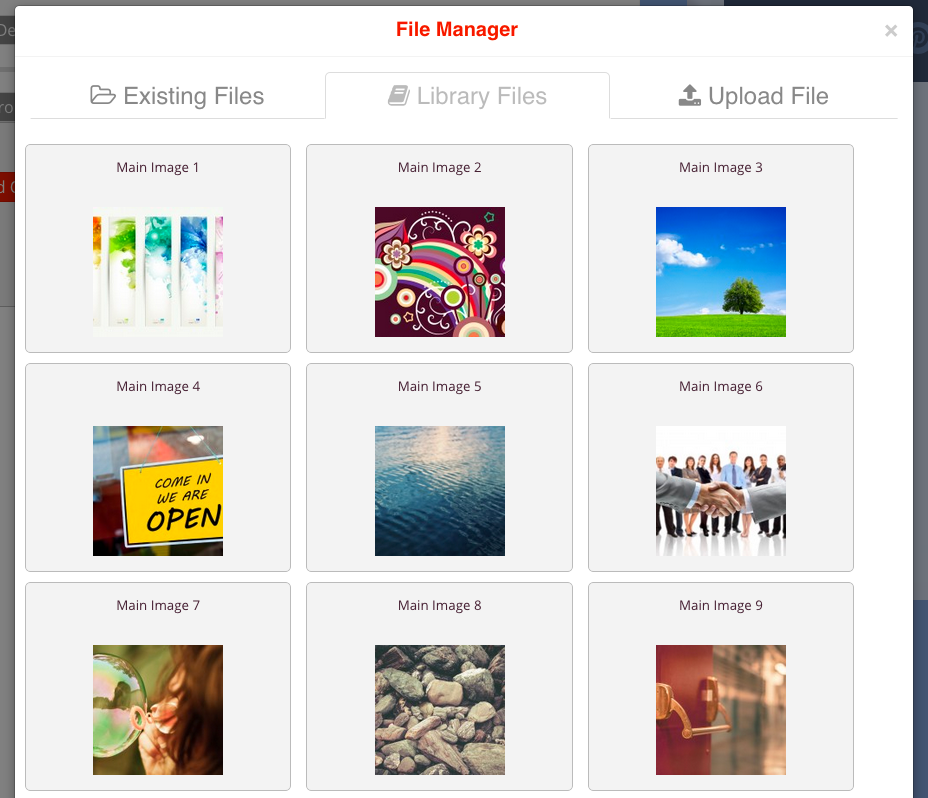
Secondary Image
File Manager LibraryFile Manager Upload
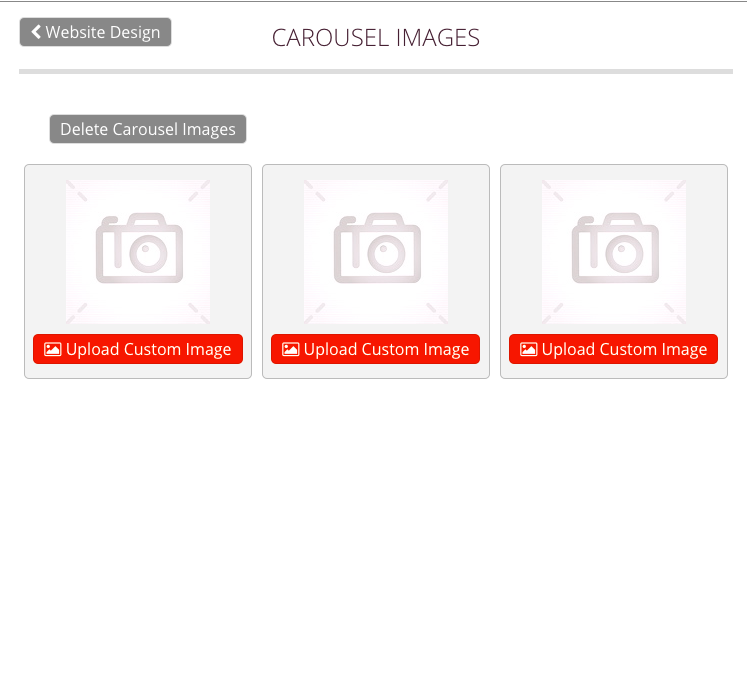
Main Carousel Images
Carousel Image Management
Grid Images
Grid Images Management
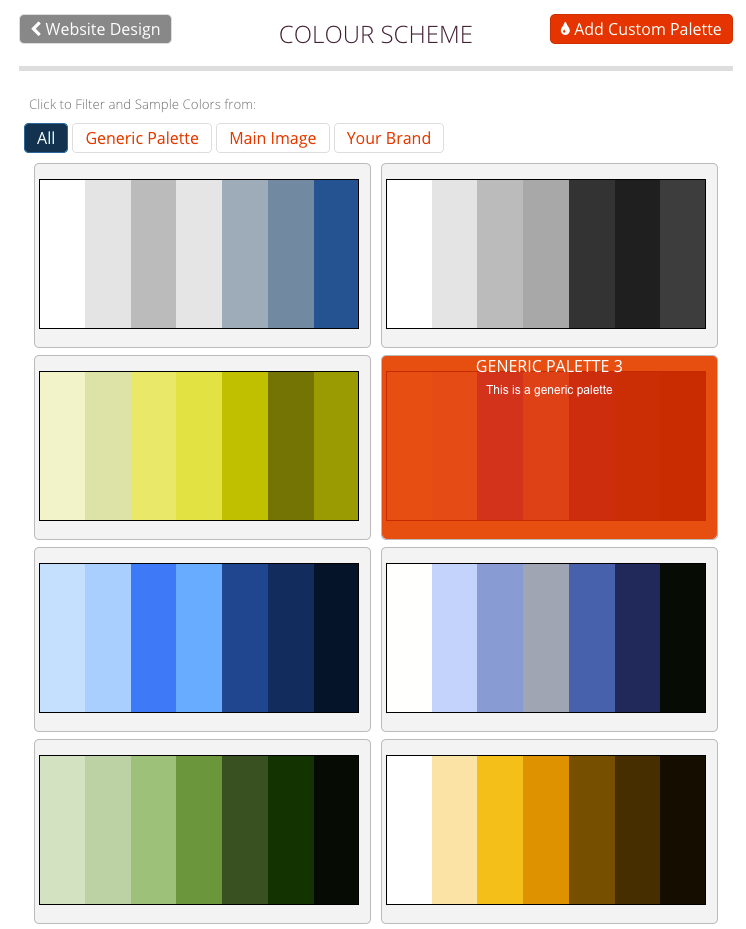
Colour
Here you will select the colour scheme for your website. You can filter and choose by generic, image, brand or custom.
Colour Selection
Generic
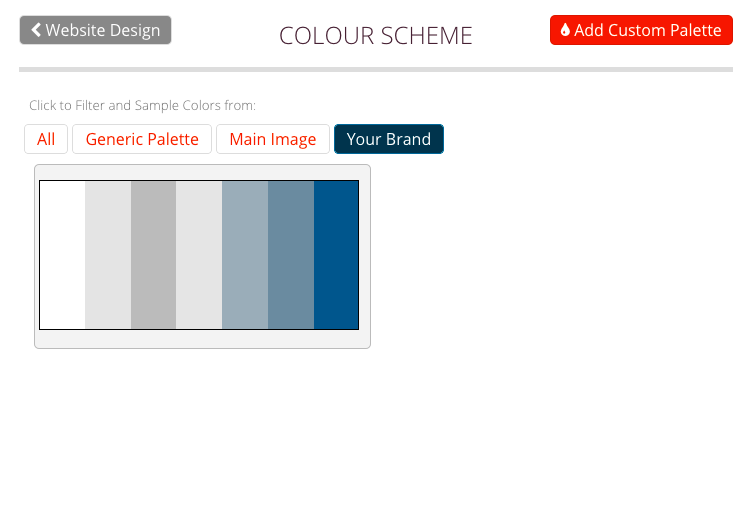
Brand
Colour Selection Filter by Brand
Image
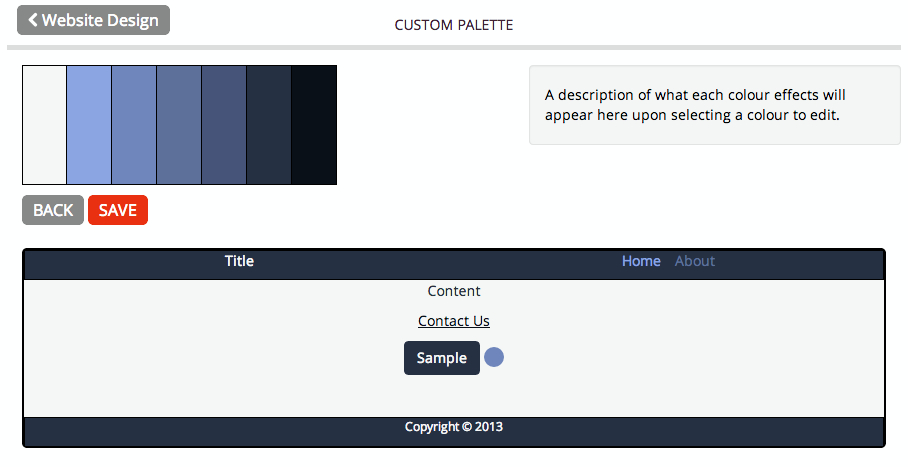
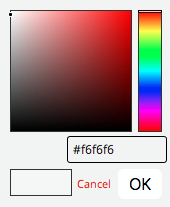
Custom
Here you use the colour picker to select colours for your website. A description of what each colour affects will be updated when you click to edit. A layout representation will be updated with the colour you select.
Custom ColourColour Picker
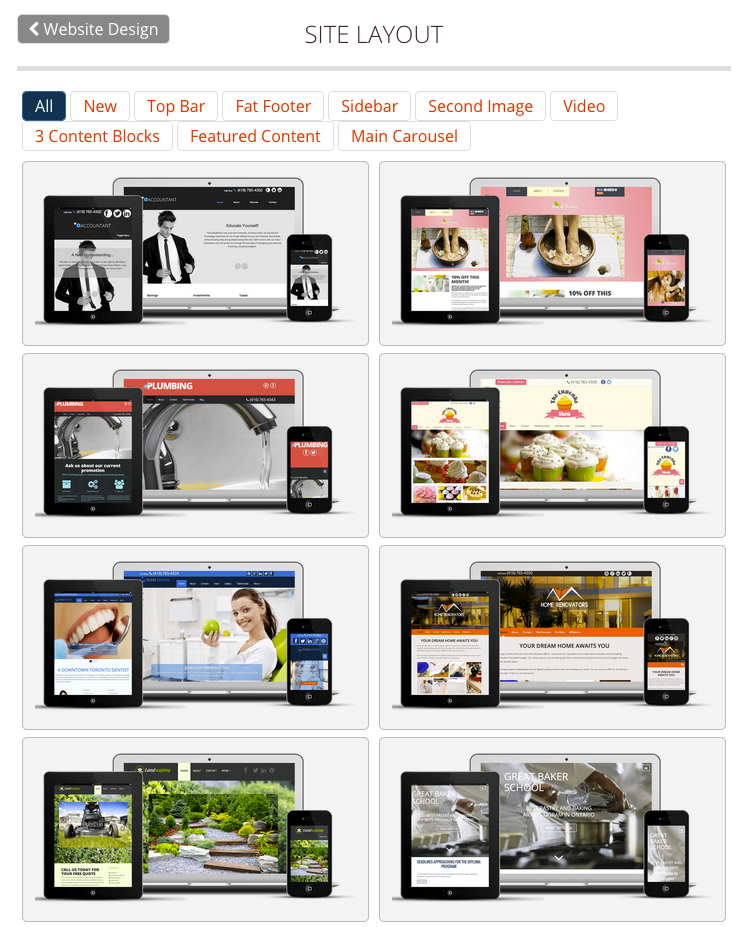
Layout
Here you will select the layout for your website. You can filter by each layouts features. When hovering over the layout image you will see demo business name, style name and style description with the option to launch the demo site, or apply that layout.
Layout Selection
Use Layout
Preview Layout
Layout Descriptions
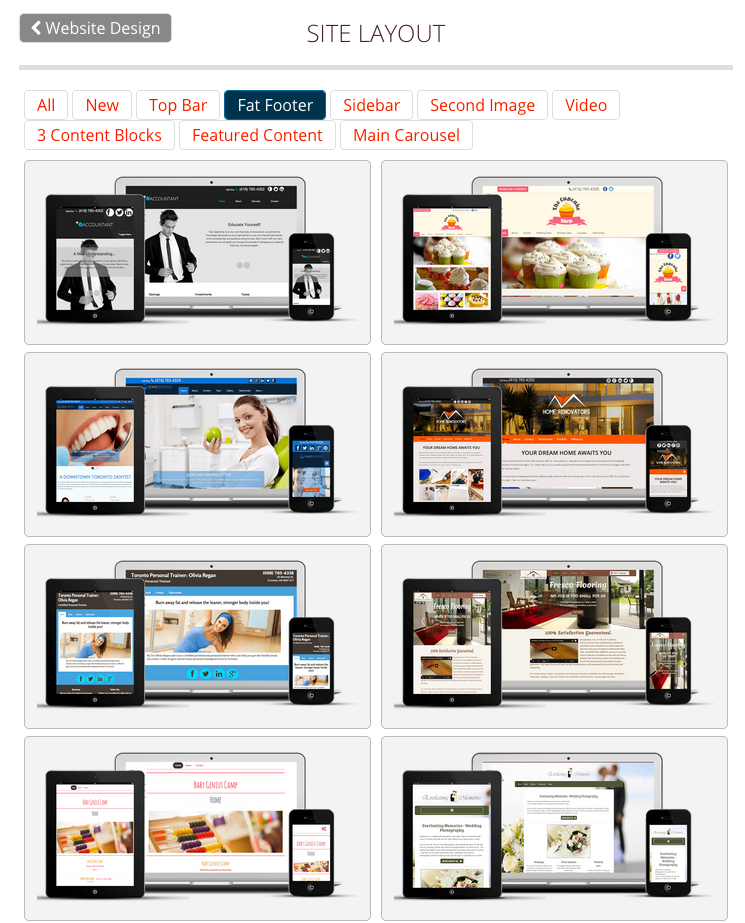
Layout Filters
Layout Selection Filter
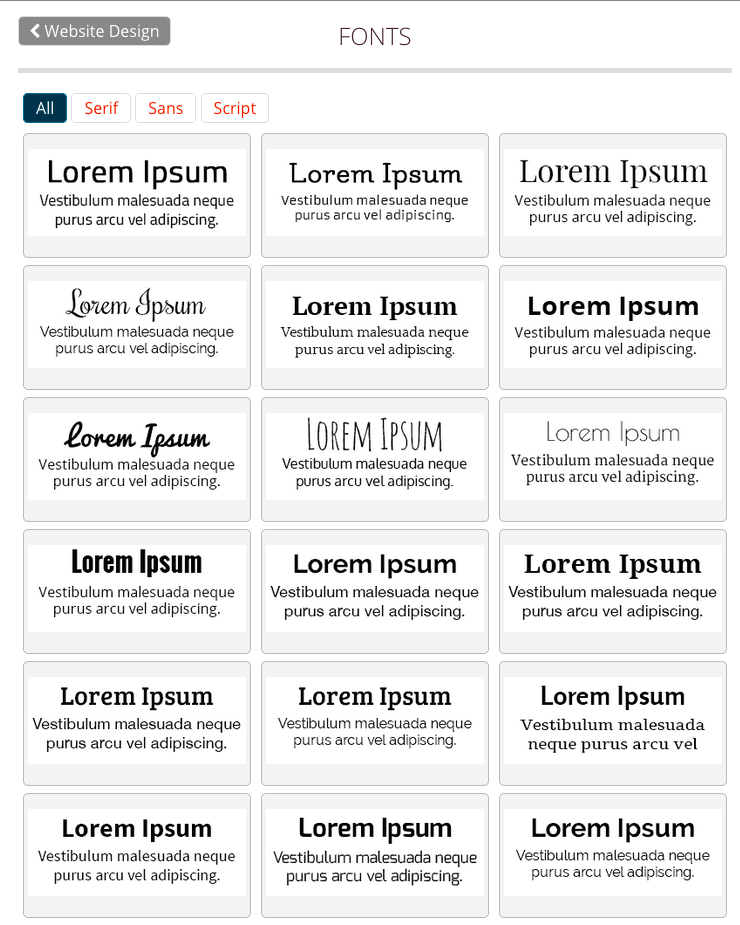
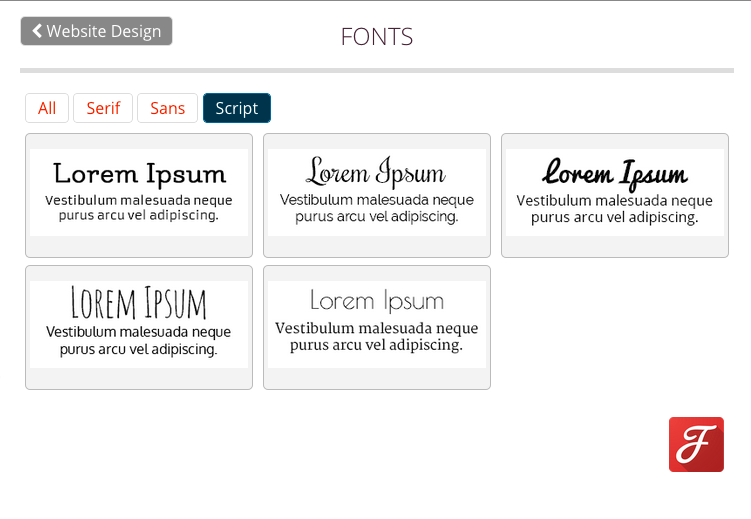
Font
Fonts SelectionFonts Selection Filter
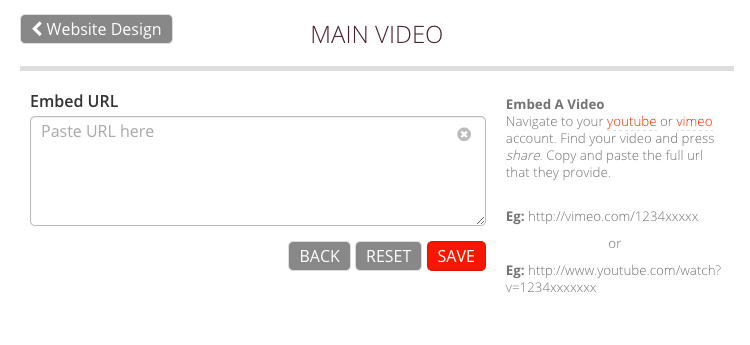
Video
Add Video
Logo
Business Information Logo
3.02 Add / Edit Pages
Your website will have 3 pages to start with: Home, About & Contact. You have the option of editing these pages and/or adding additional pages to your website.
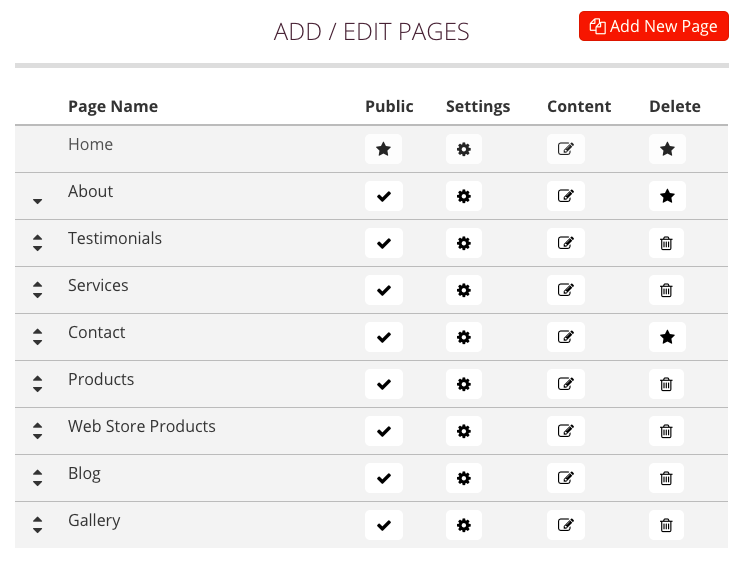
Add / Edit Pages
Manage Pages
Add / Edit Pages Submenu
Change Order
Change Visibility
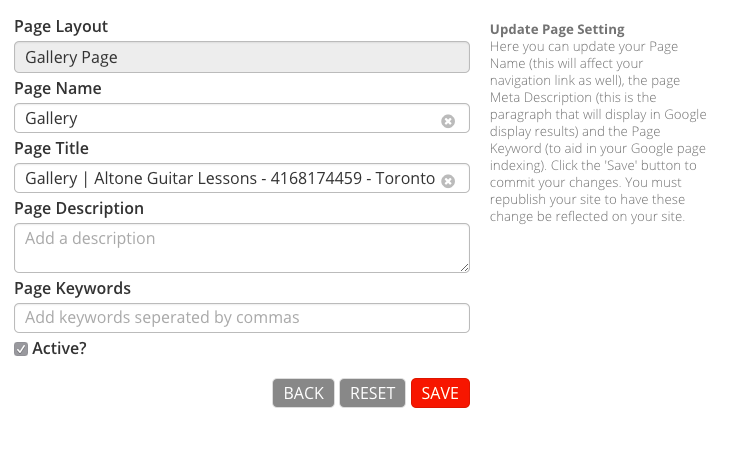
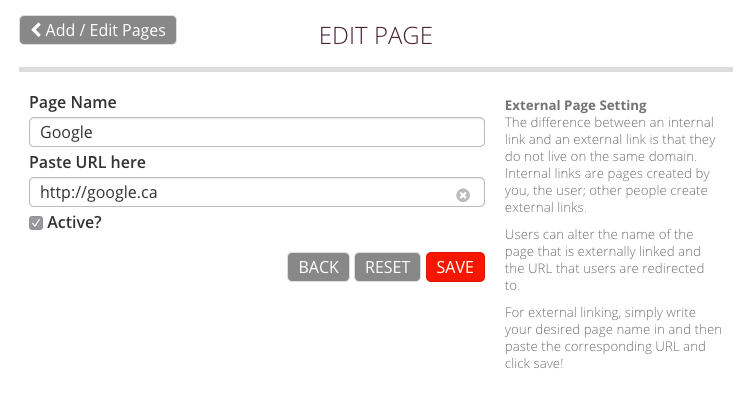
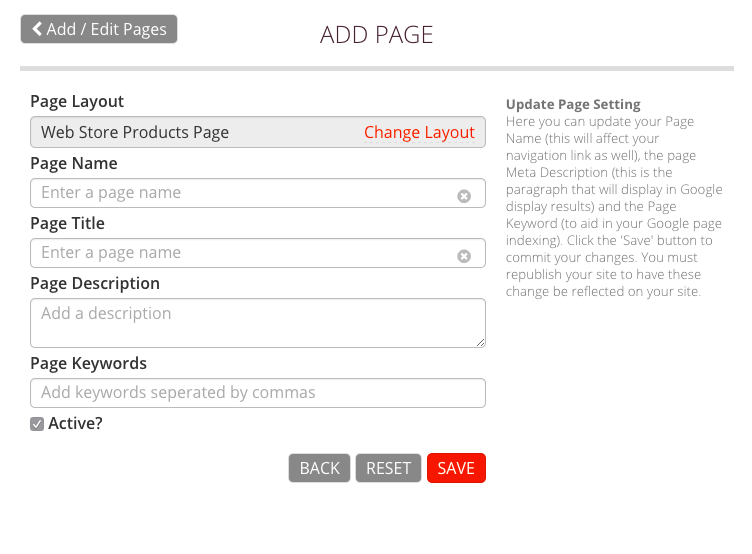
Edit Page SEO
Page Name Page Tittle Page Keywords Page Description Edit Page SEO
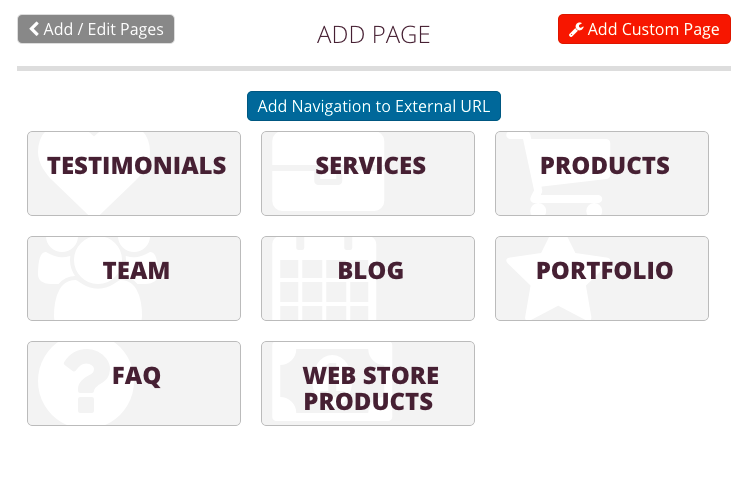
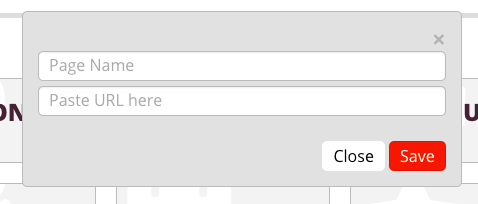
When you select "Add New Page" in the Add / Edit Pages menu, you will be directed to the following submenu where you may select the prepackaged type of page you wish to add, or create a unique page using the Custom Page option.
Prepackaged Pages
Prepackaged Pages
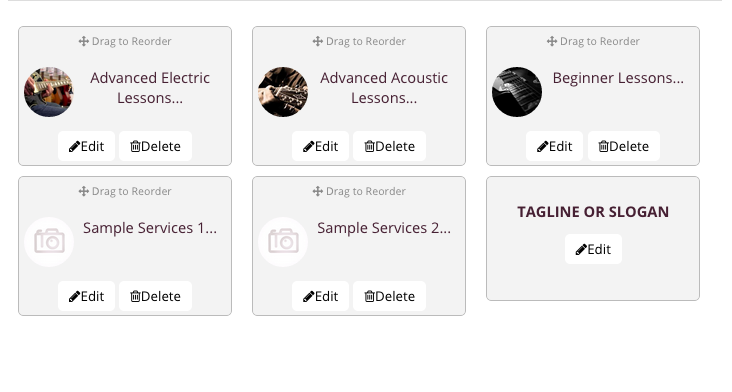
Testimonials allows you to showcase testimonials from your customers. Click Edit or Add Content to edit / add a testimonial.
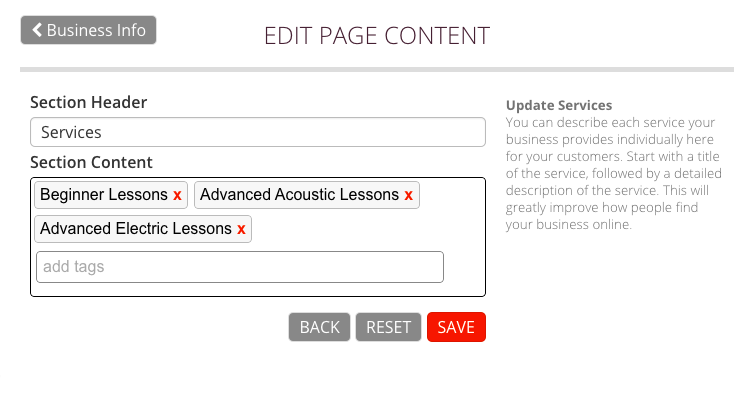
Services provides fields for text descriptions and allow you to upload photos to correspond with the text.
Products provides fields for text descriptions and allow you to upload photos to correspond with the text.
Team provides fields for text descriptions and allow you to upload photos to correspond with the text.
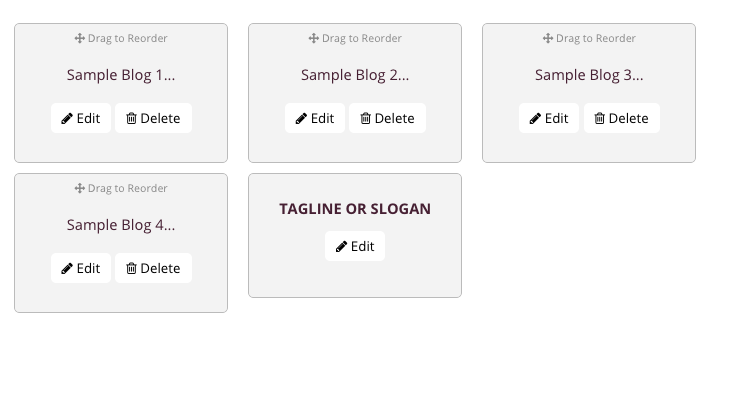
Blog is text only and is ideal for providing news or media updates.
Portfolio provides fields for text descriptions and allow you to upload photos to correspond with the text.
F.A.Q. provides fields for titles and descriptions. Users click on the title which reveals or collapses the description.
Web Store Products provides fields for text descriptions and price, it allows you to upload photos to correspond with the text.
Sample pieces of content will not appear on published websites if they are not edited.
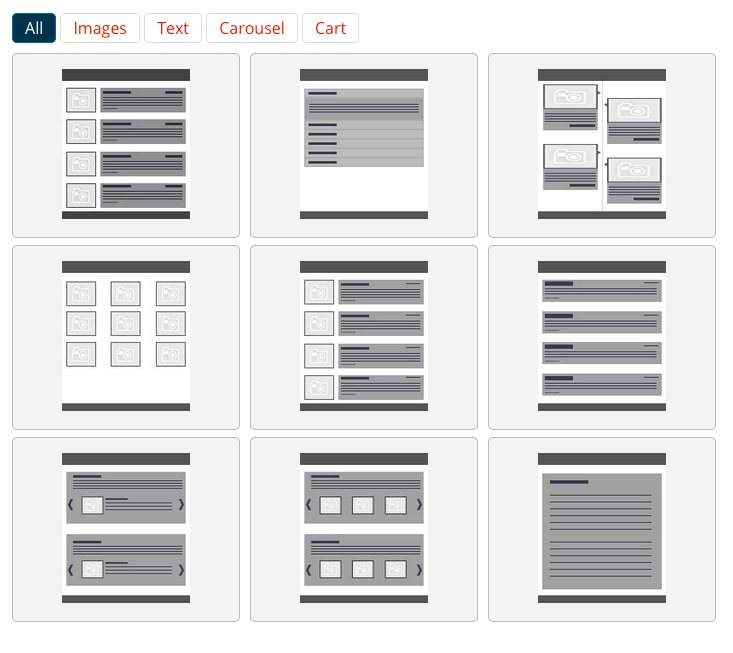
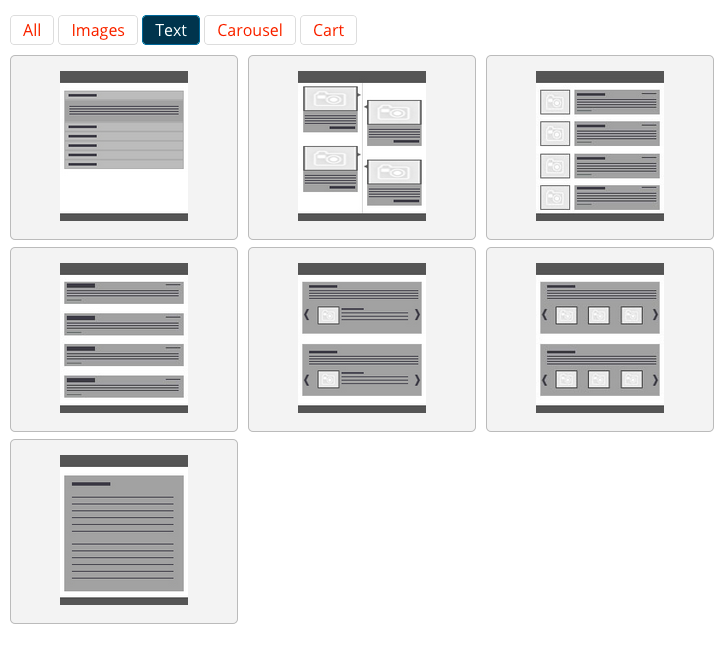
Custom Pages
When you select "Custom Page" in the Add New Page menu, you will be directed to the following submenu where you can browse the page types. You can filter the page types by the type of content they support. Hovering over a page image will give you the name of the page layout style and a description with suggested uses.
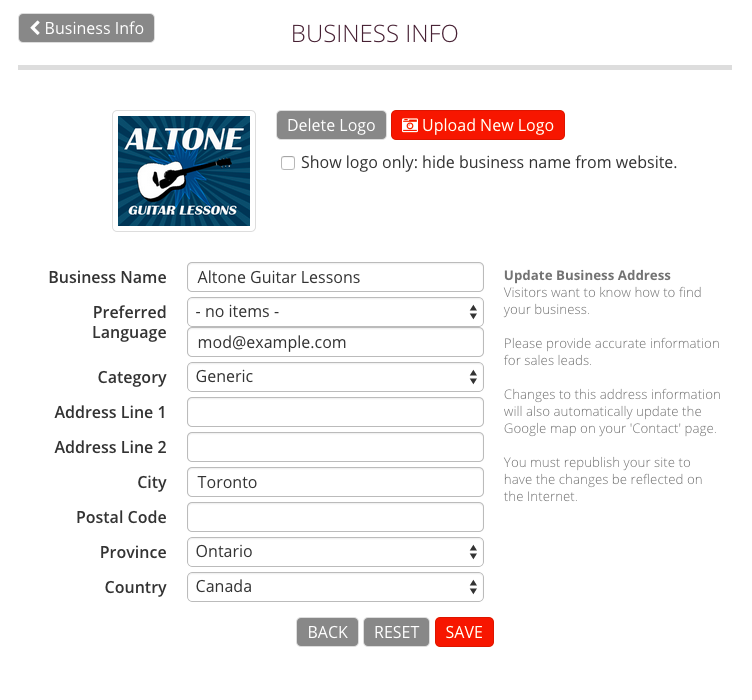
This page allows you to update/edit your logo, business name, address and contact information, category, language preference.
Business Logo
Business Name
Business Category
Business Email
Business Language Preference
Business Address
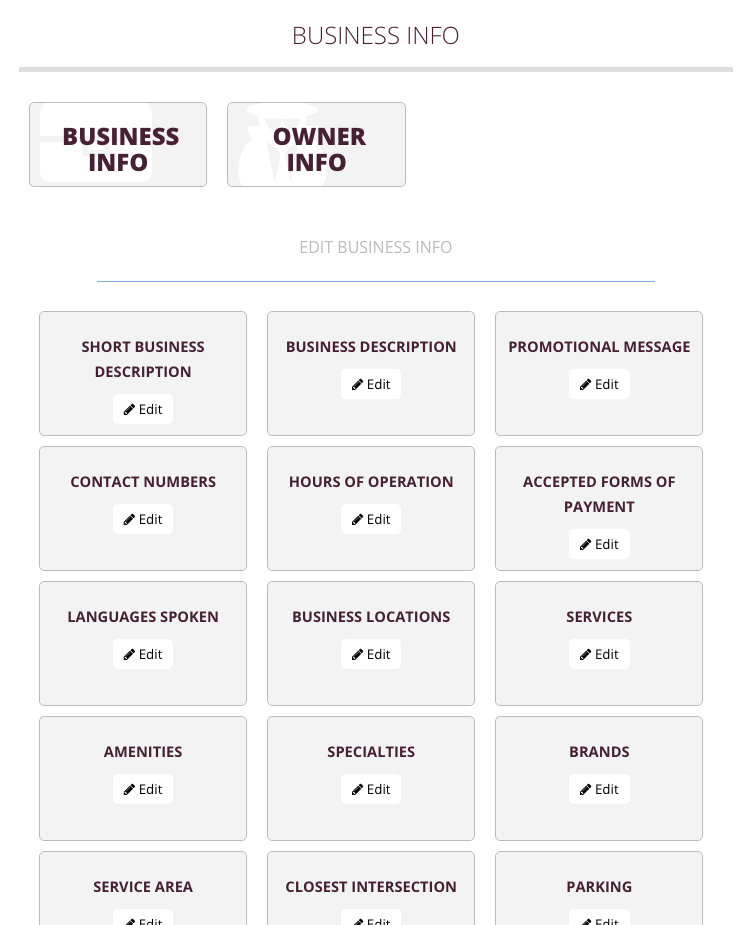
Business Information
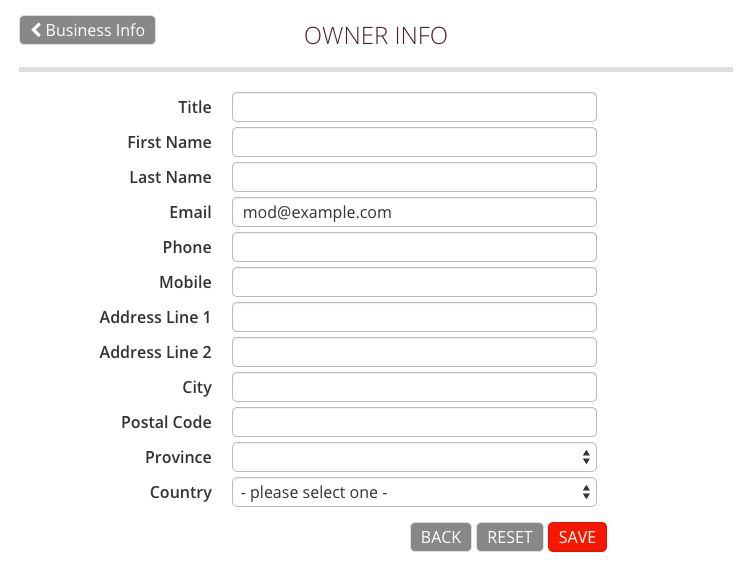
Owner Information
This page allows you to update/edit your owner information.
Owner Information
Short Business Description
Short Business Description
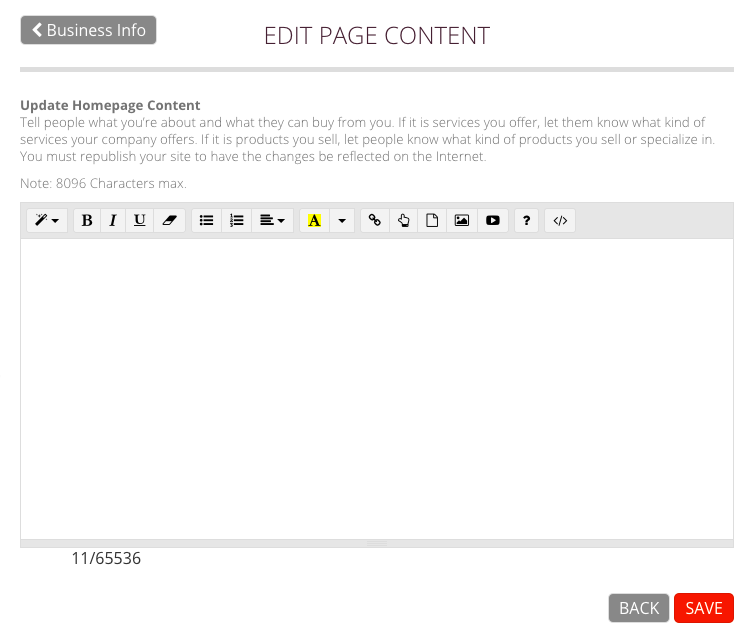
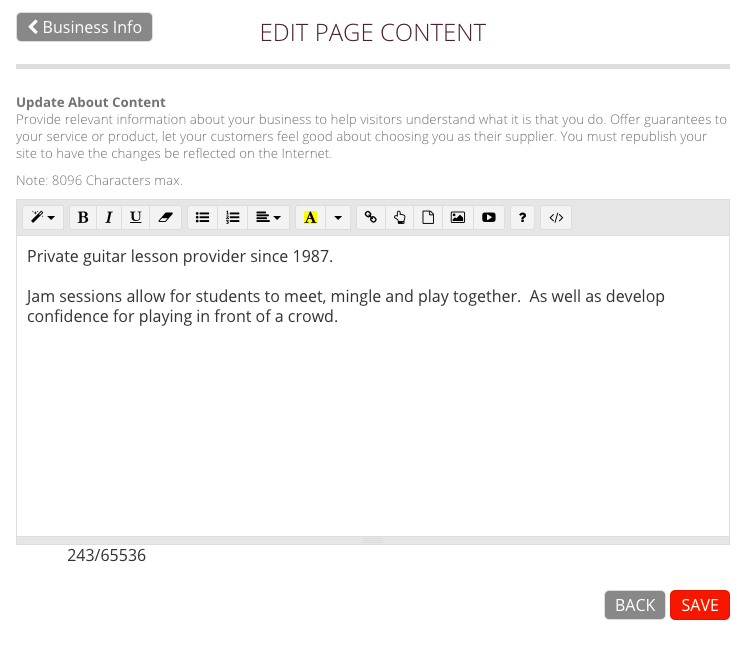
Business Description
Business Description
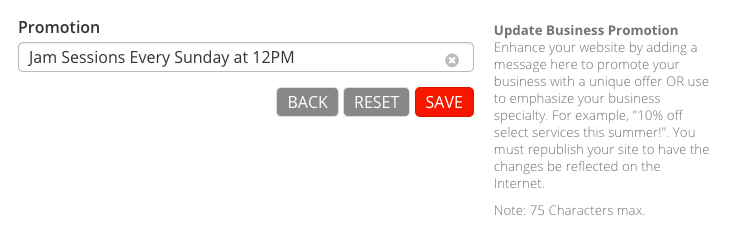
Promotional Message
Promotional Message
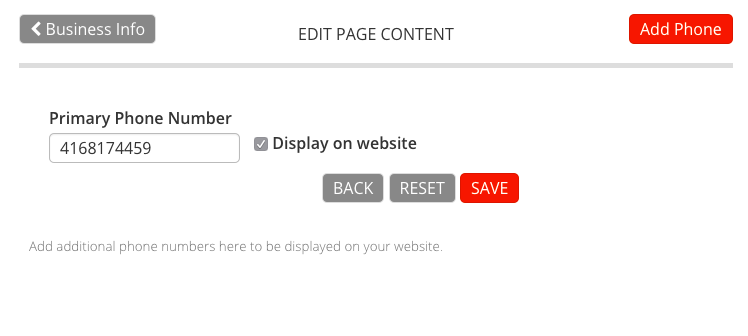
Contact Numbers
Contact Numbers
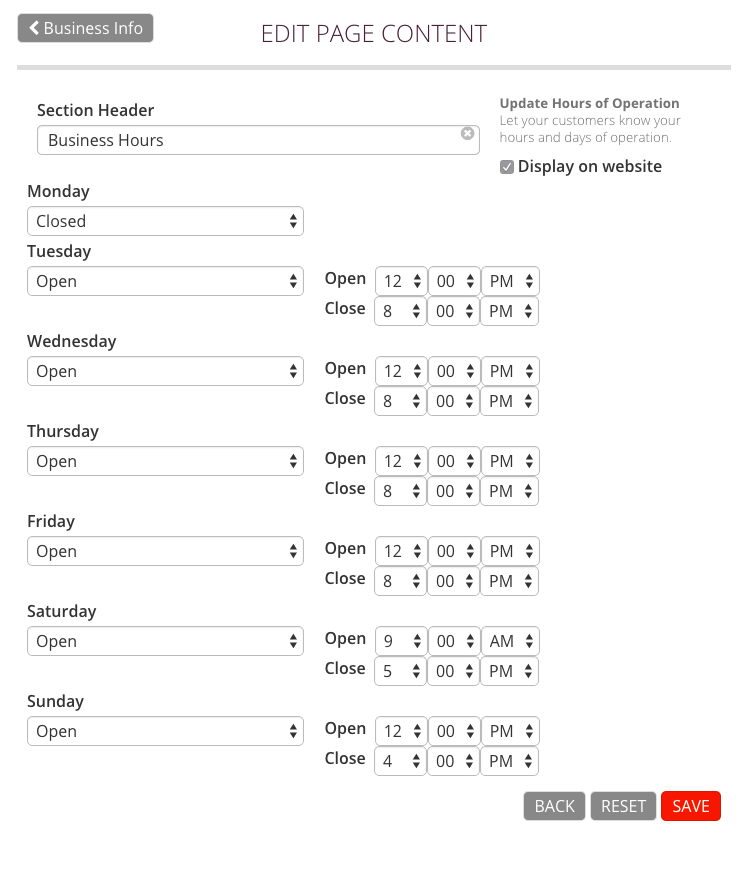
Hours of Operation
Hours of Operation
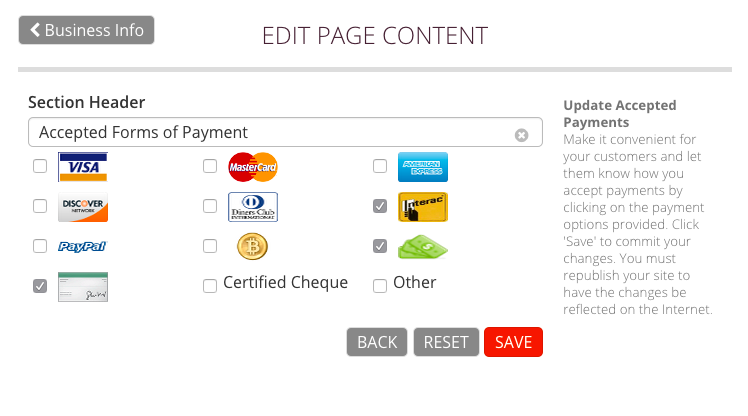
Accepted Forms of Payment
Accepted Forms of Payment
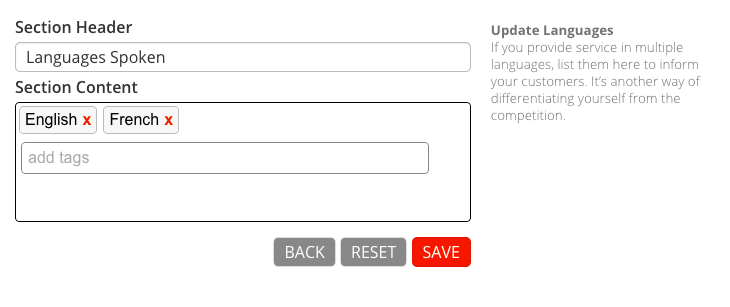
Languages Spoken
Languages Spoken
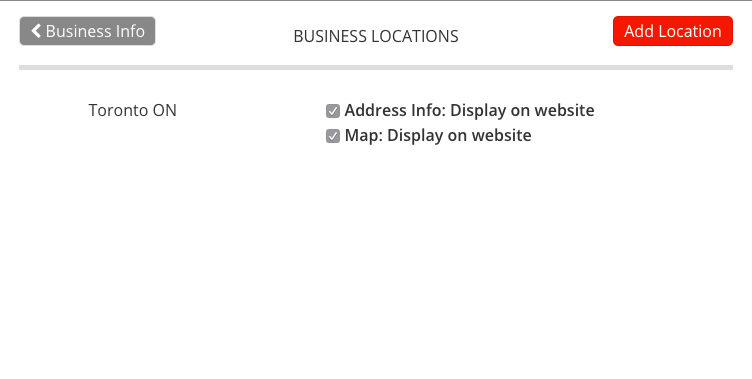
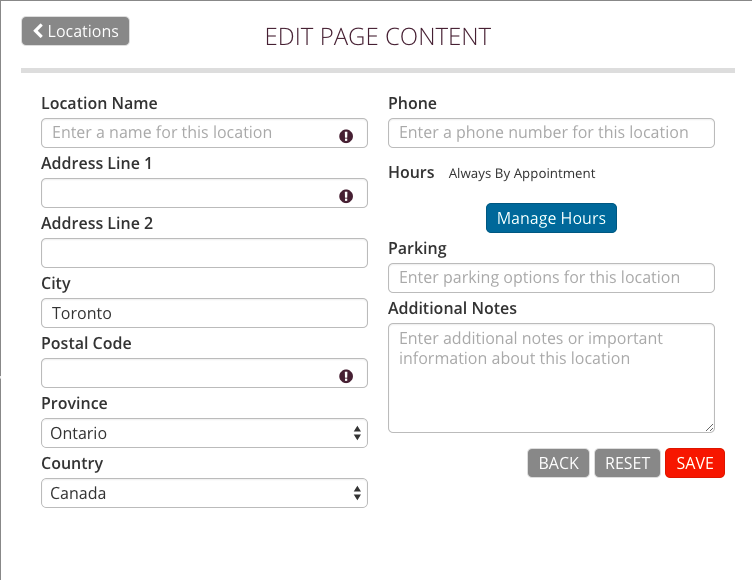
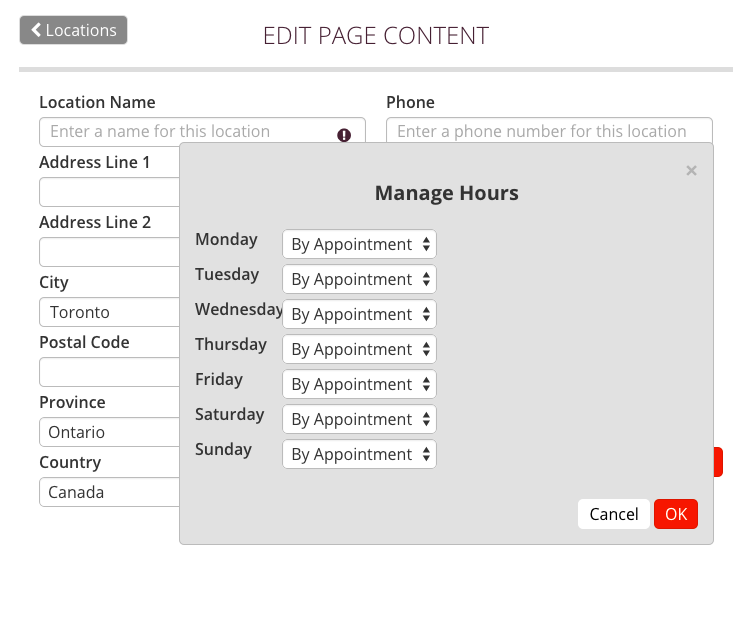
Business Locations
Business LocationsAdd Business LocationBusiness Location Hours
Services
Services
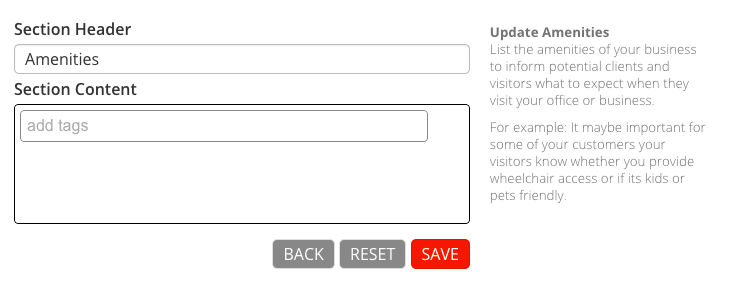
Amenities
Amenities
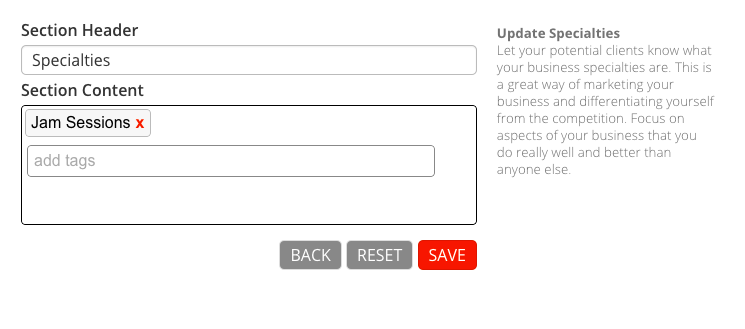
Specialties
Specialties
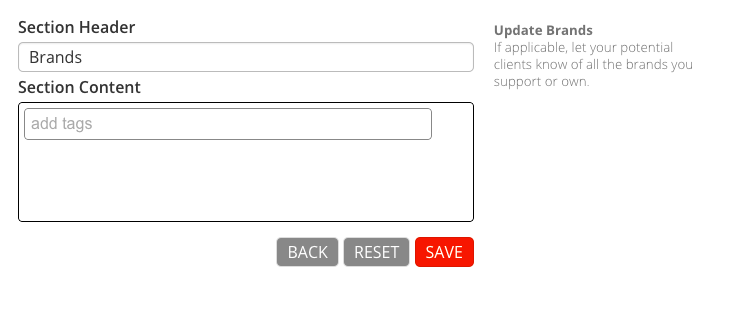
Brands
Brands
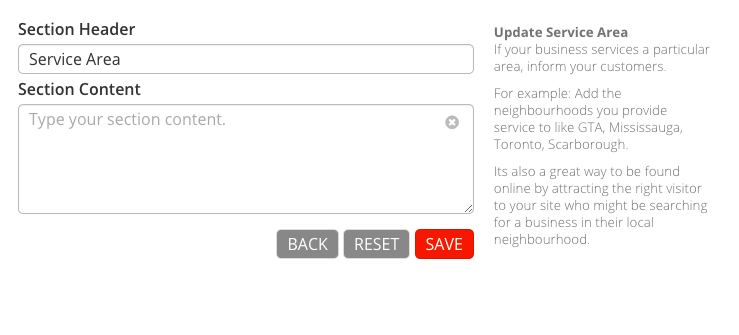
Service Area
Service Area
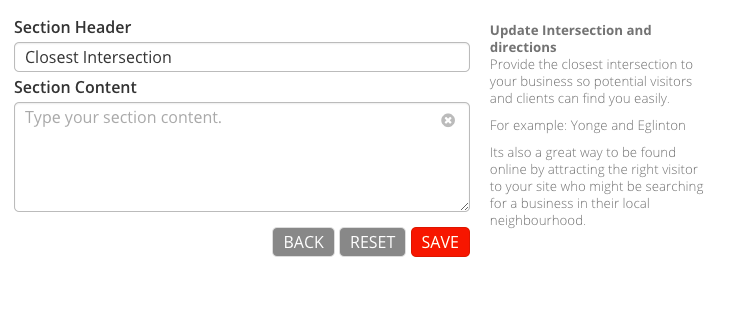
Closest Intersection
Closest Intersection
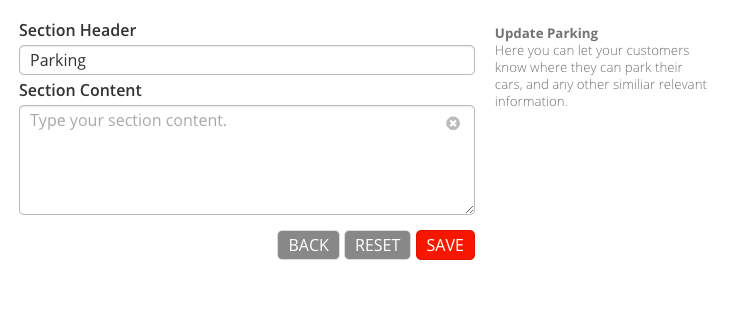
Parking
Parking
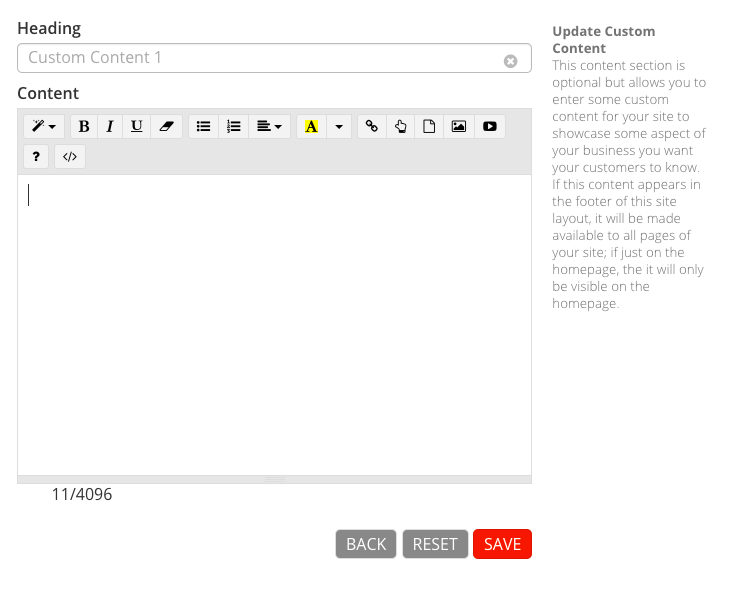
Custom Content 1-3
Custom Content 1-3
3.04 Social Media
In order to link to social profiles from your website so users can like or follow your page you need to enter your profile. If no social profiles are provided default social sharing buttons will be provided.
Social Media
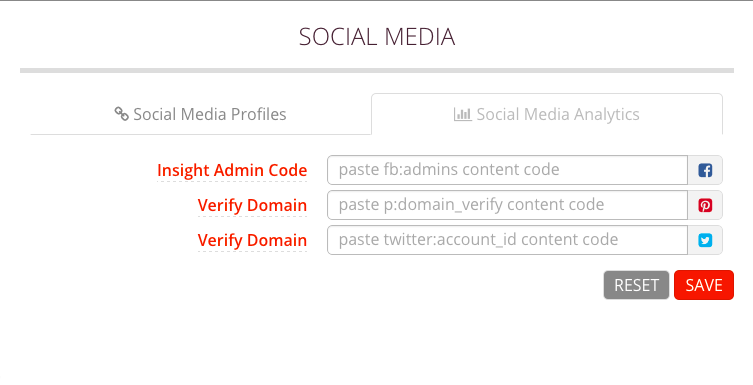
Social Profiles
Enter the user name or user id that appears at the end of your social media links.
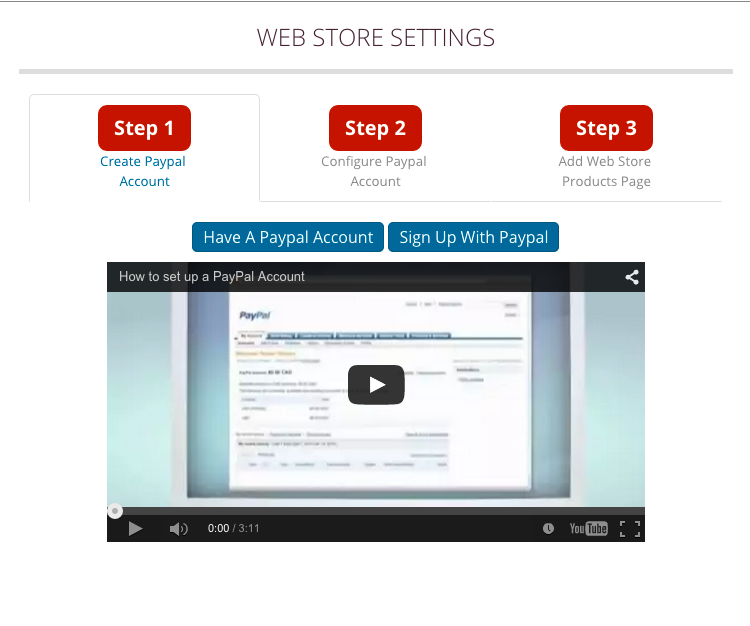
Video instructions on setting up a Paypal account, if a Paypal account already exists move on to store settings.
Paypal Web StorePaypal
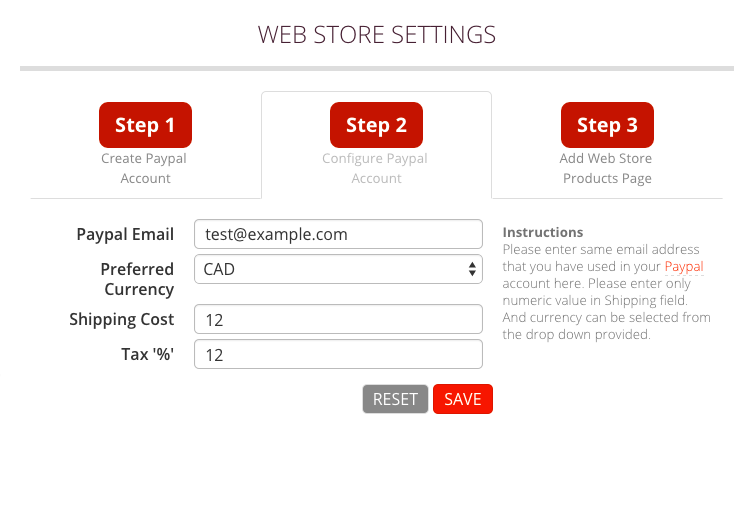
Enter Paypal account email and store settings, such as currency, charge for shipping and tax percentage.
Paypal Web Store Settings
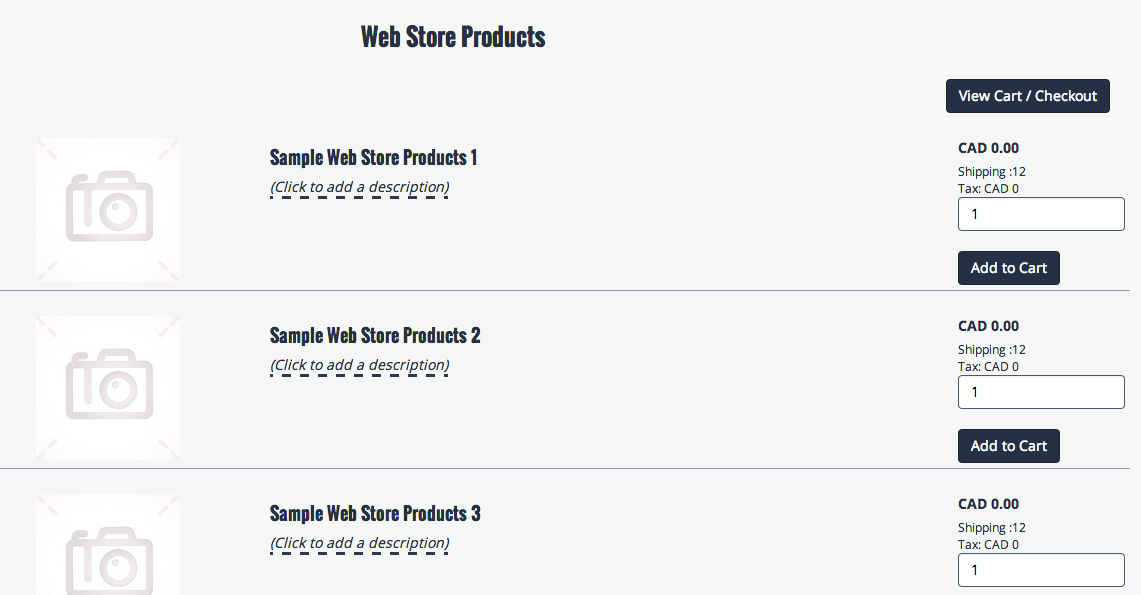
Create Web Store Products Page
A prepackaged Web Store Products page will be created.
Paypal Web Store Products PagePaypal Web Store Products Page Settings
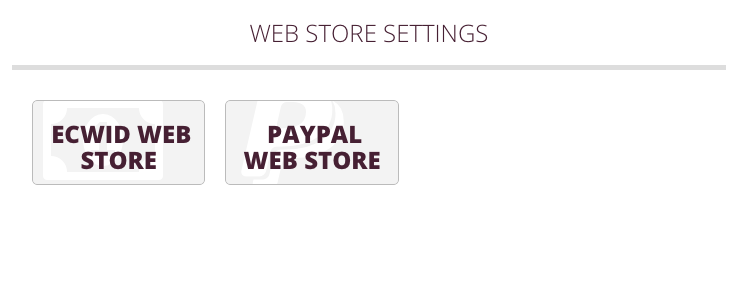
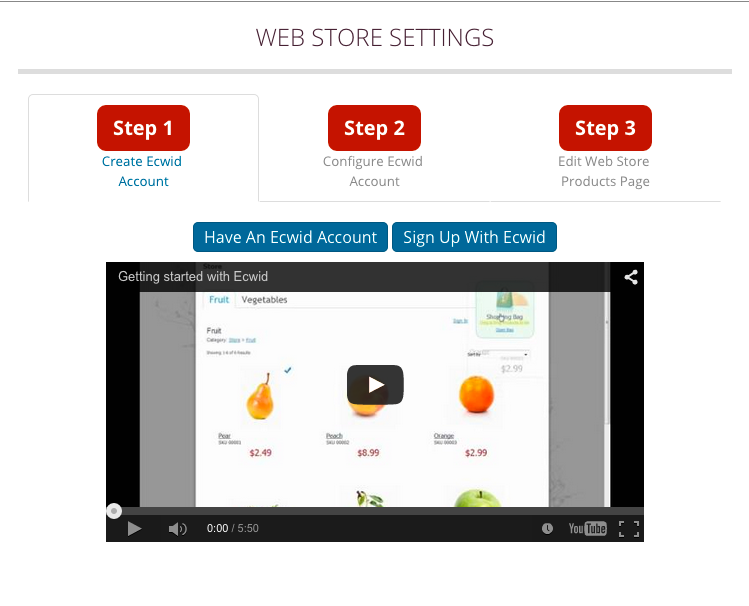
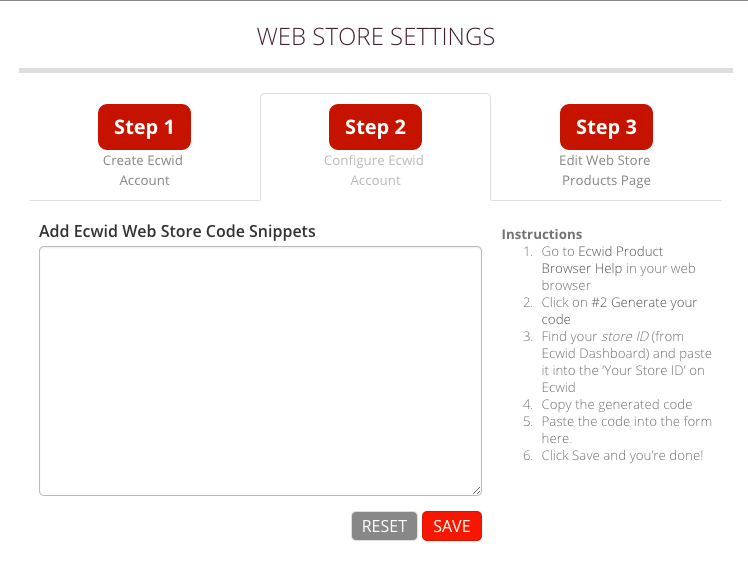
Ecwid Web Store Settings
A prepackaged Web Store Products page will be created.
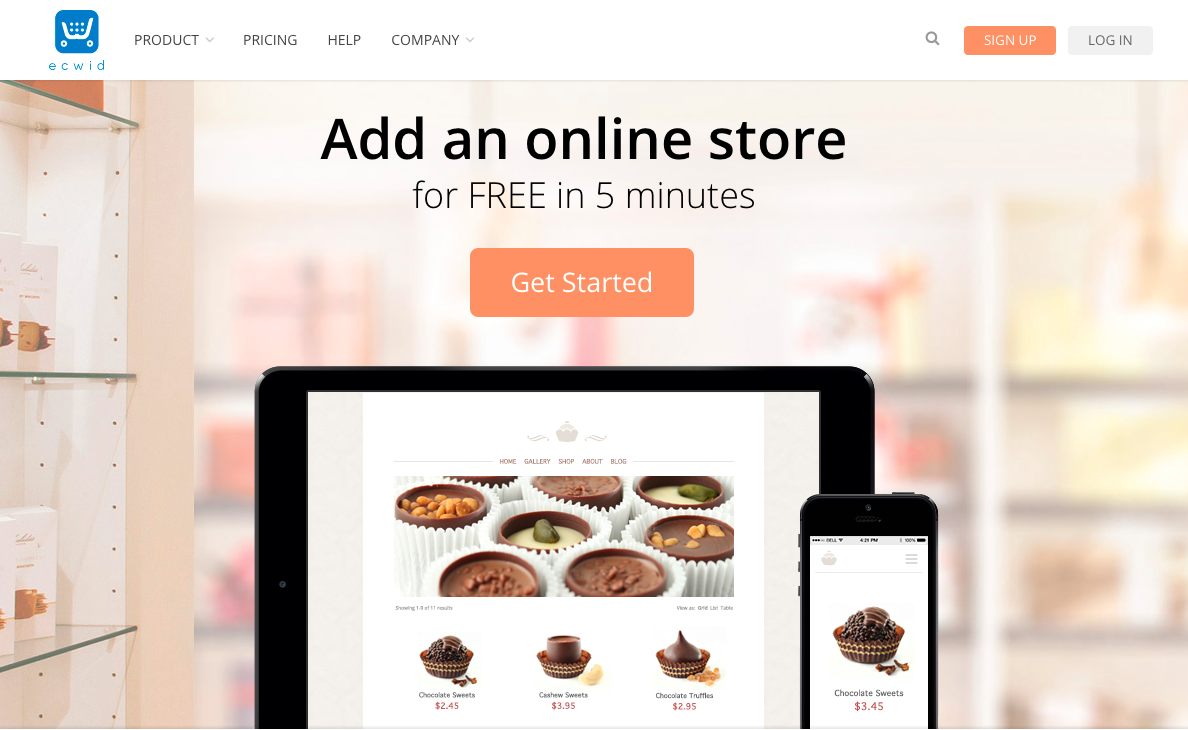
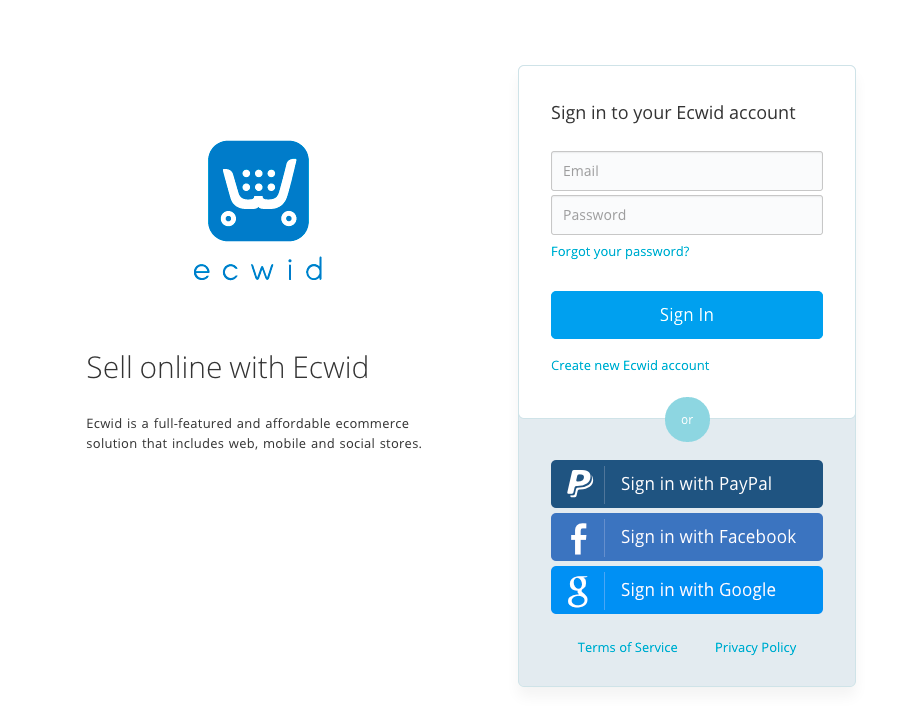
Ecwid Web Store
Ecwid
Ecwid
Ecwid Web Store Settings
3.06 Domain and Email
Disclaimer: Websites must be launched before domain name/email options are available. This feature needs activation before use.
Domain and Email
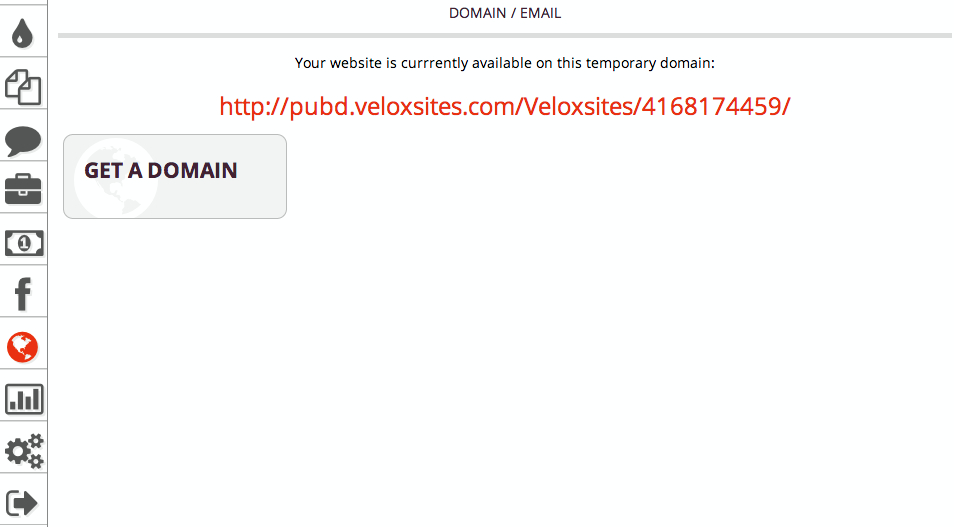
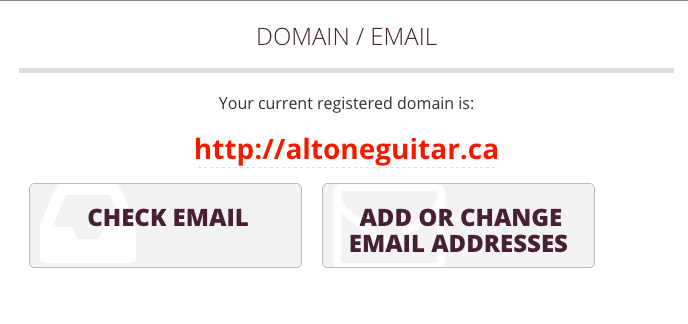
Current Domain
Current Domain Submenu
Domain Settings
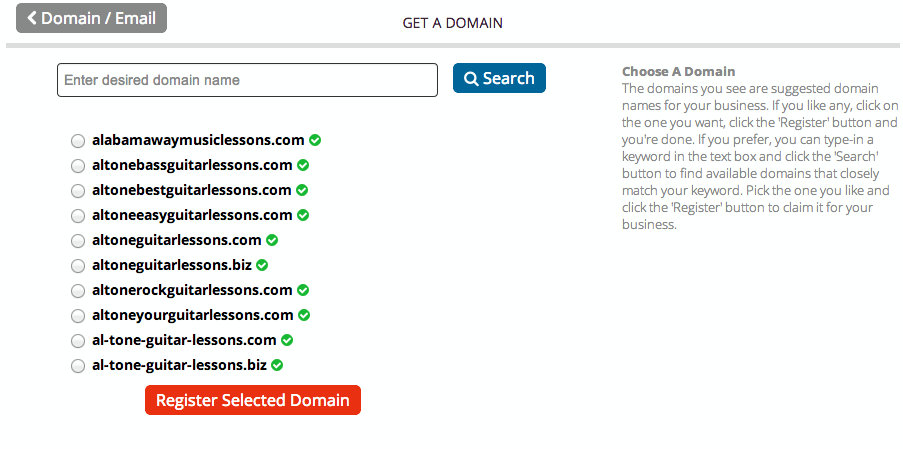
The system will provide you with suggestions on available domain names based on the business name you provided.
You can select one of these OR search for a domain name you like. With our websites, there is no need to work with multiple providers or understand DNS settings. Your website gets published on your domain automatically!
Domain Suggestions
Domain Suggestions
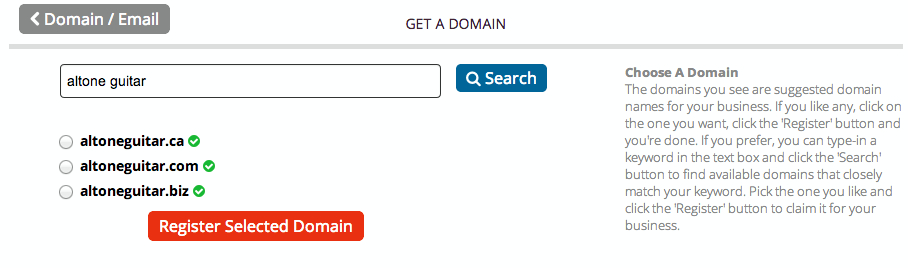
Domain Search
Domain Search
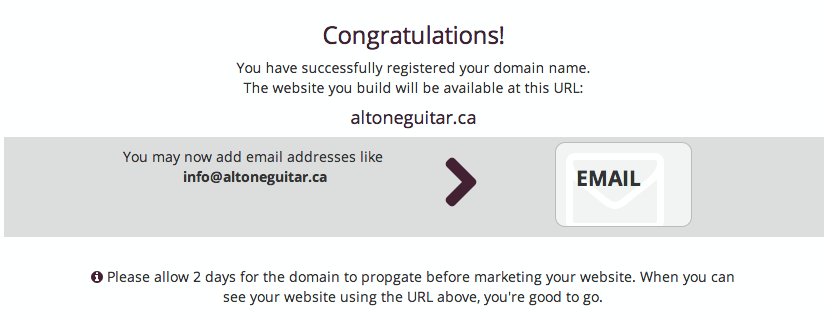
Book Domain
Domain Confirmation
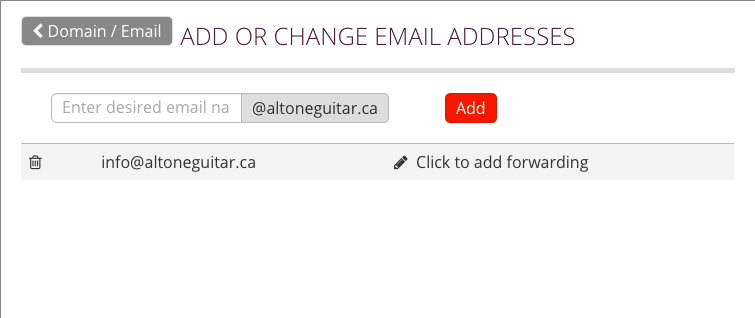
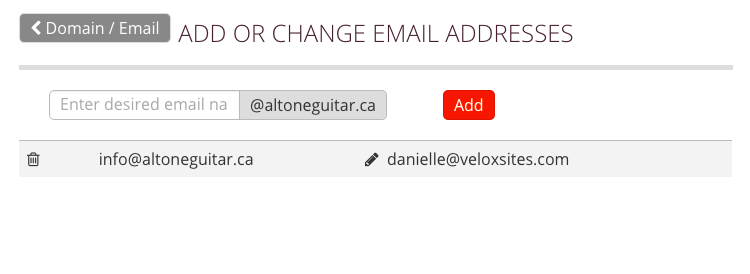
Manage Email
Once you have a domain name, you can also opt in for an email address related to your domain.
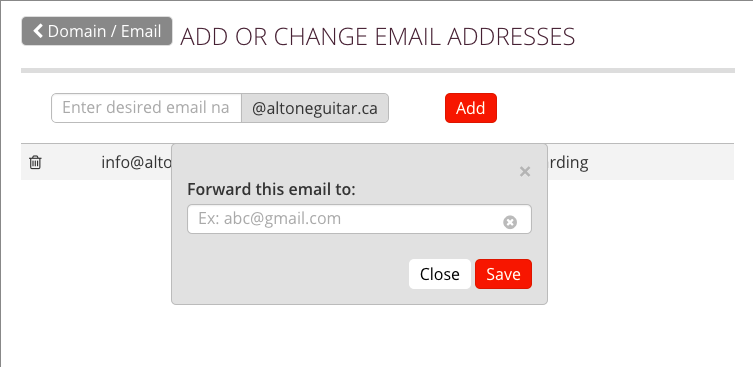
You can set it up as forward only to your existing Hotmail, Yahoo, Gmail etc., or you can access your email using the webmail interface, right from the site control panel.
Check Email
Email Submenu
Book Email
Email Settings
Forward Email
Forward Email SettingsForward Email Settings
Delete Email
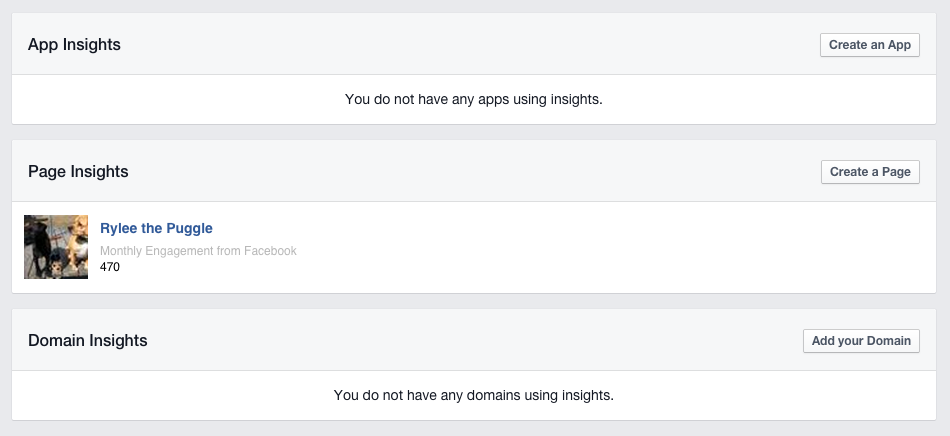
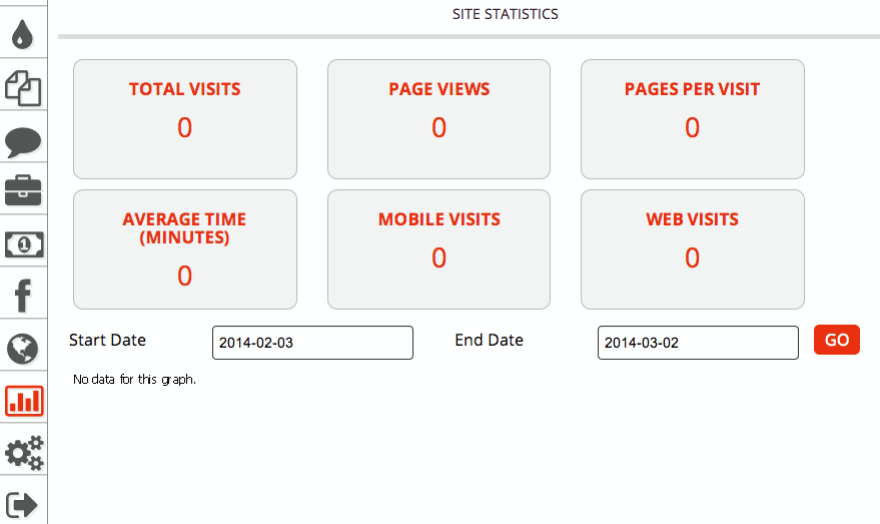
3.07 Website Statistics
This submenu allows you to check your website statistics such as: total visits to your site, the amount of people to view your page, time spent on your page etc.
Website StatisticsWebsite Statistics Submenu
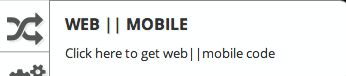
3.08 Mobile Conversion
Mobile Conversion
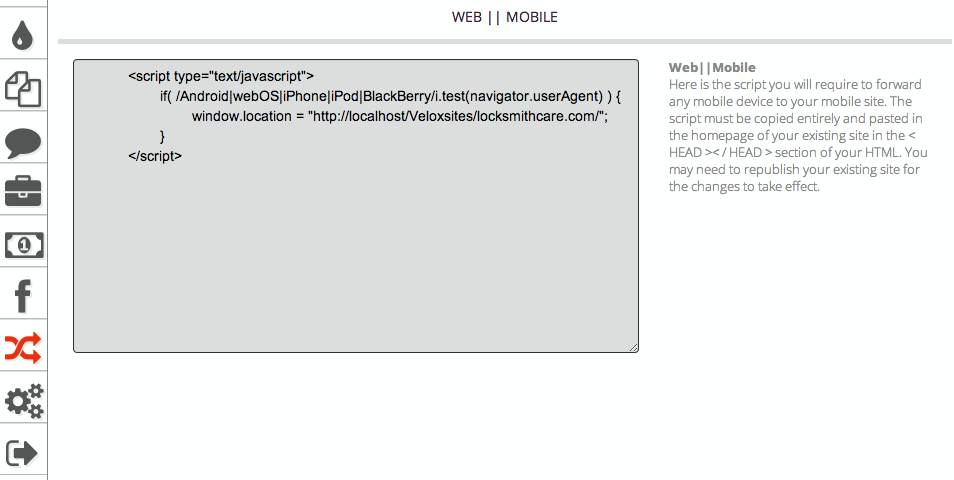
Redirect Script
Here you will be given a code snippet to copy and paste on your original website. The code redirects mobile devices to your new mobile website.
Mobile Conversion Submenu
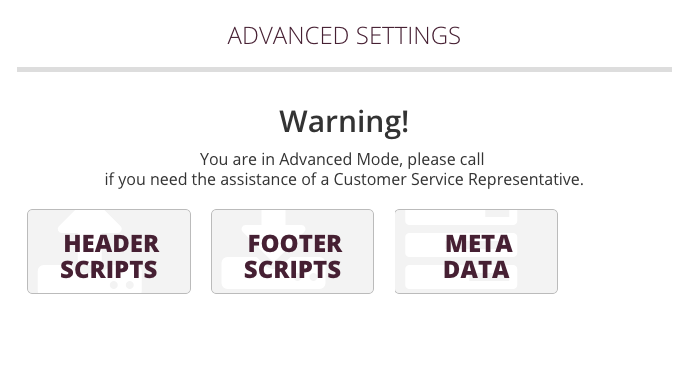
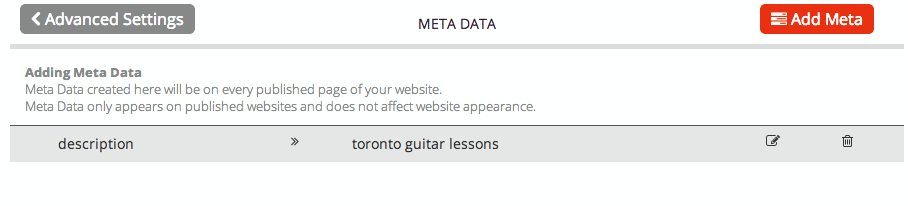
3.09 Advanced Settings
Advanced SettingsAdvanced Settings Submenu
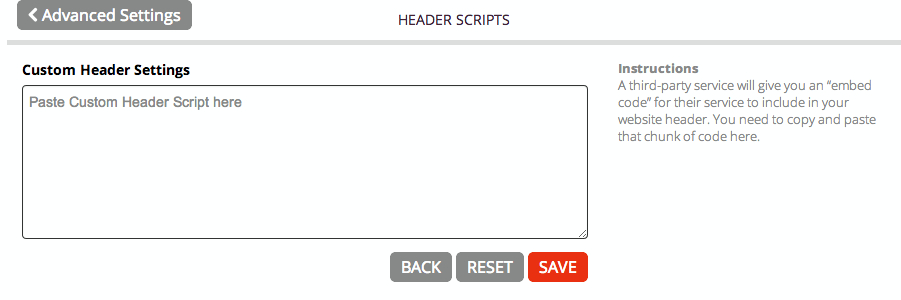
Scripts
Allows you to add Header and/or Footer scripts. Header and Footer scripts are Javascript or jQuery.
To change the content on any of your pages, all you need to do is click on the information you want to change, and make the necessary changes.
Just mouse over and the cursor will change to VS orange to signify editable content.
6. Troubleshooting
Although your website and site control panel are designed to ensure maximum robustness, there may be occasional times during which your website may not optimally formatted or load properly.
The reasons for these are usually low internet speeds, hardware problems, or using an outdated browser.
If you get stuck, screen freezes or designs do not appear correct, refresh the browser using control (Ctrl) and F5 button at the same time (Windows). Or, if you are using a Mac - Apple + R or Cmd + R..
Although not compulsory, it’s highly recommended that before starting work on the website, a clear cache/cookies operation is performed.